
How to Register Your Company with AlnicoSoft POS: Step-by-Step Guide
Welcome to the AlnicoSoft family!
If you’re a business owner looking for an efficient and reliable point-of-sale (POS) and inventory management solution, you’ve come to the right place.
At AlnicoSoft, we specialize in cloud-based POS systems designed for businesses of all sizes — from small retail shops to large multi-store chains across the United States. Our mission is simple: to help you streamline operations, manage inventory with precision, and process payments securely — all through a powerful, browser-based system that requires no software installation.
In this guide, we’ll walk you through how to register your company with AlnicoSoft POS and start managing your business in just a few minutes.
Introduction to AlnicoSoft POS
AlnicoSoft POS is a cloud-based point of sale and inventory management platform designed to help businesses of all sizes across the United States. Whether you manage a single store or multiple retail locations, AlnicoSoft POS helps streamline daily operations, manage stock accurately, and process payments securely — all from your web browser.
Since it’s a fully cloud-hosted SaaS platform, there’s no software to install or update. You can access your account anytime, from any device, and start managing your business right away.
Why Choose AlnicoSoft POS for Your Business
- 💡 Cloud-Based Access: Manage sales, inventory, and reports from anywhere.
- ⚙️ Easy Setup: No installations or technical configurations required.
- 💳 Flexible Pricing: Choose between free or paid plans with a 30-day trial. Pricing Details
- 📞 U.S.-Based Support: Reliable customer service whenever you need help.
Step-by-Step Guide to Register Your Company
Step 1 — Visit the AlnicoSoft Registration Page
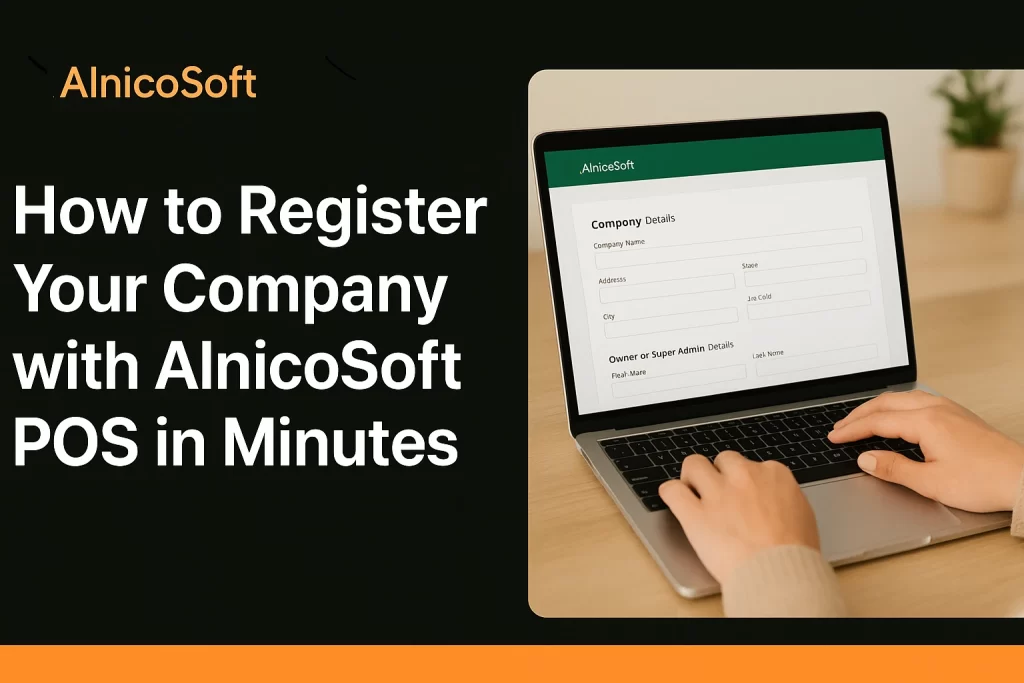
Step 2 — Enter Your Company Details
Fill out the company information form. Include your company name, address, email, and phone number. This section helps AlnicoSoft set up your business profile accurately. You can also use the autofill feature for quicker entry.
Step 3 — Add Owner or Super Admin Information
Next, enter your personal or administrative details. Choose your user type — either Owner or Super Admin. The Owner typically represents the business, while the Super Admin has full system control. Then provide your name, email, and contact numbers. This email will serve as your primary login ID.
Step 4 — Apply Discount Code (Optional)
If you have a valid discount code, enter it in the Discount Code field and click Apply. This will reduce your subscription fee when you move to a paid plan.
Step 5 — Choose Your Subscription Plan
AlnicoSoft offers both Free and Paid versions. The free version provides basic access, while the paid version unlocks full features and includes a 30-day trial period. We recommend starting with the paid plan to experience the complete system capabilities.
Step 6 — Enter Billing Information (Optional)
This section is optional if you’re on the free plan or within the trial period. For paid subscriptions, enter your card information and billing address. You can choose to use your company or owner address to simplify setup.
Step 7 — Agree to Terms and Register
Review AlnicoSoft’s Terms of Service, Privacy Policy, and Cookie Policy. Once you agree, check the confirmation box and click Register Company and Admin. Your company profile will now be created in the AlnicoSoft system.
Step 8 — Verify Your Company Email and Login
After registration, you’ll receive a verification email containing your Company ID and PIN Code. Click the verification link in the email, enter the provided ID and PIN, and confirm your registration. Once verified, log in using your email and password to access the POS dashboard.
After Registration — Getting Started with AlnicoSoft POS
Once your company is registered and verified, you can immediately begin setting up your store, adding users, managing inventory, and configuring payment options. The intuitive dashboard makes it easy to manage every aspect of your business in real time.
Watch: How to Register Your Company with AlnicoSoft POS
If you prefer visual instructions, watch this short video tutorial that walks you through the entire registration process.
Need Help? Contact AlnicoSoft Support
If you have any questions during the registration or setup process, our U.S.-based support team is here to help. Reach us anytime at support@alnicosoft.com.
Conclusion
Registering your company with AlnicoSoft POS is fast, simple, and secure. Within minutes, you can start using a powerful cloud-based POS and inventory system designed to make your business operations smoother and more efficient. Get started today and see how AlnicoSoft POS can help your business grow!
Get Your POS Installed Fast and Hassle-Free
AlnicoSoft makes point of sale installation simple, affordable, and quick. Our expert team handles setup, hardware integration, and training — so you can start selling without delay.
👉 Ready to get started?